A few reminders now that today is the last day of November.......
I've extended the deadline to sign up for my Club until next Tuesday. You can join if you live near me or anywhere else in the US. I film how to and mail your project pieces for home assembly. More Club details - https://mailsomethingpretty.com/join-stamp-club/
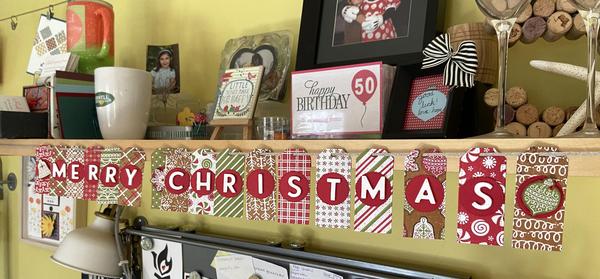
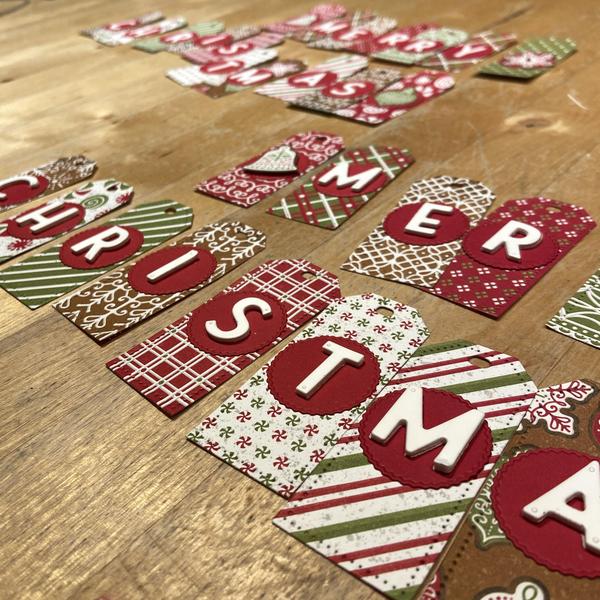
A Merry Christmas Banner You Can Mail
While my daughter was home from college, she said she and her roommates wanted to decorate their room for Christmas. It got me thinking about what I could make and mail them (for not too much $). I came up with this little banner that can be easily mailed in an envelope or a small package. (I went the small package route and included
a little chocolate).
You could make these banners for children/grandchildren of any age: preschool thru college. (You can make them say "happy birthday" or really any message you want to send them). Or make them for yourselves!
I took a few photos of my steps (& missteps) and then decided to make a second one for my craft area (photo above) because why should they be the only ones to enjoy such a sweet banner????
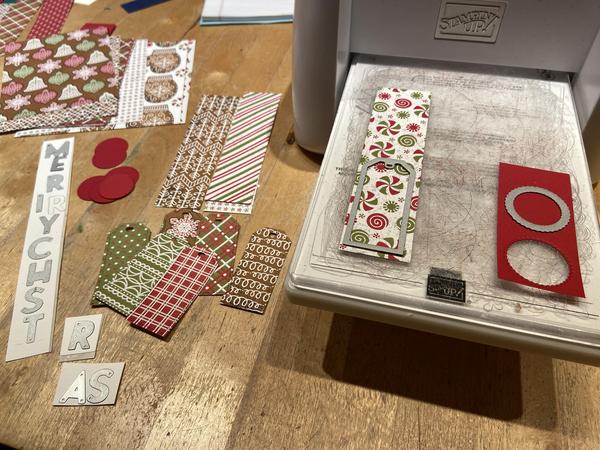
It hardly takes any paper at all. I cut 1-1/2" strips of 6 x 6 paper and cut two tag pieces from each strip (flip one over and get two designs).
I used:
- Gingerbread & Peppermint Designer Paper, but you can use any patterned paper.
- Tailor Made Tags Dies (but you can use a multitude of tag choices, or cut rectangles with your paper trimmer if you don't have dies)
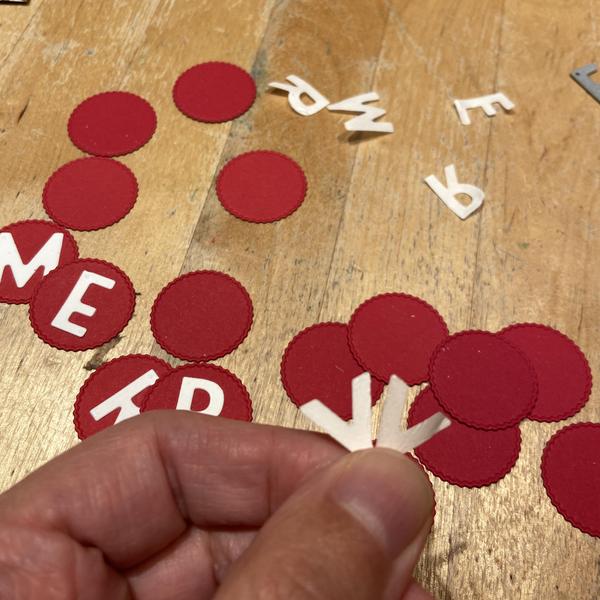
- The red circles came from the Tasteful Labels dies (the smaller circle of the set). Again, there are many circle dies or punches you can use.
- The letters came from the Playful Alphabet dies. If you don't have letter dies, draw your own with markers.
- For my daughter's banner, I used Adhesive Sheets to back the letters for easier sticking (much easier than using glue for all those letters). The banner sits smooth if mailing in an envelope.
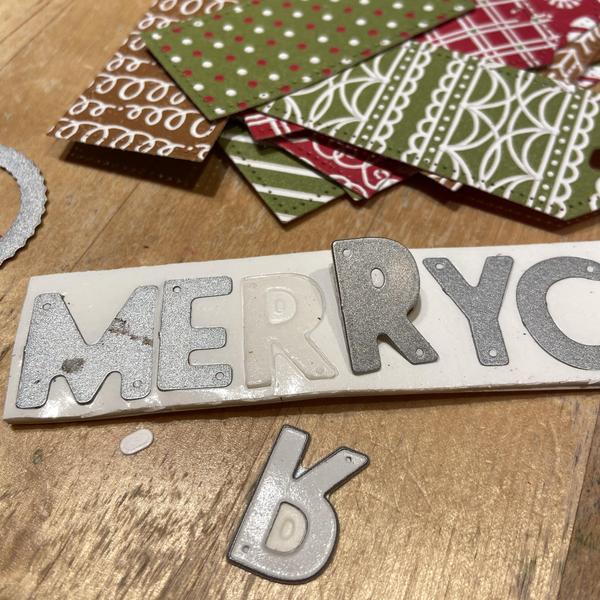
- For my banner, I used the Foam Adhesive Sheets to give them a little dimension.
This is where my misstep came in - don't do what I did! I stuck the Foam Adhesive Sheet to my White strip of paper and then cut all the letters on the wrong side. Be sure to cut the letters on the card stock side. In my defense, both sides were white and I had four different projects on my table....sound familiar??
See how easy these Adhesive Sheets work? Peel the backing off and stick. No mess.
Flat letters are in the back, raised ones in the front. Both look great!
String on some ribbon or twine and hang! The whole greeting measures only 26", so it's perfect for a (college) desk or shelf as I have here. My first Christmas decoration is up!
Keep this project in mind for other holidays too: Valentines, birthday, congratulations, go Team (insert team name), Halloween, etc. I think receiving a banner in the mail would be a lot of fun.
Happy Creating!!!!
Ways to connect with & contact Christine
|
|
|