I haven't done a lot of creating in the last two weeks (besides my live last Thursday), so I was
happy to get back to my stamping table yesterday.
While I was finishing up a couple of unfinished projects (we all have them, right?!?), I realized I was doing a few things that could be considered "tips". So, I thought I would share 5 random paper crafting tips with you today. 😊
I hope
that they are either new to you or a good reminder.
Enjoy!
Christine
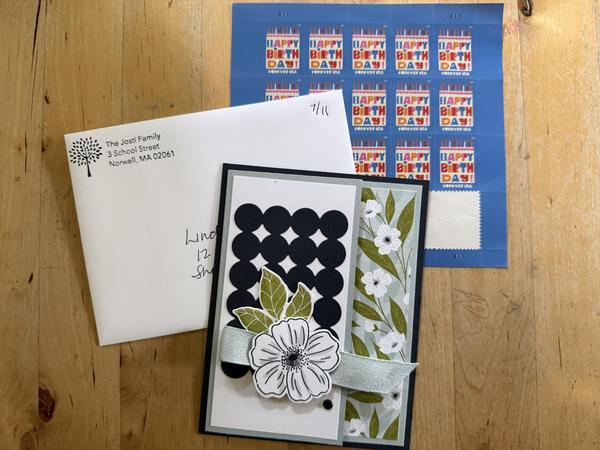
#1 - When I want to get ahead and organized on sending out my cards for the month, I like to write the date of when I want them to be received in the upper right corner of the envelope. When it's time to mail, I put the stamp on top of the written date so no one will see it. You can also write the date of the day you want to mail it as well. Whichevery system works better for
you.
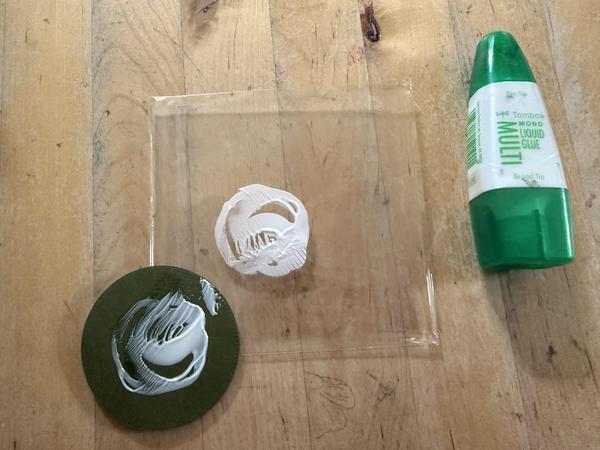
#2 - Sometimes we may use a little too much glue (or it accidentally comes out too fast). I save all the plastic bags that come with Stampin' Up! products (dimensionals, gems, 6"x 6" paper, etc) to be used "for later". Use one of those bags to "kiss" your piece with too much glue. That way you'll have less glue on your cutout and you have extra glue you can then kiss a piece
again so you don't have to squeeze anymore. This is a tip I learned from Ellen (thanks Ellen!).
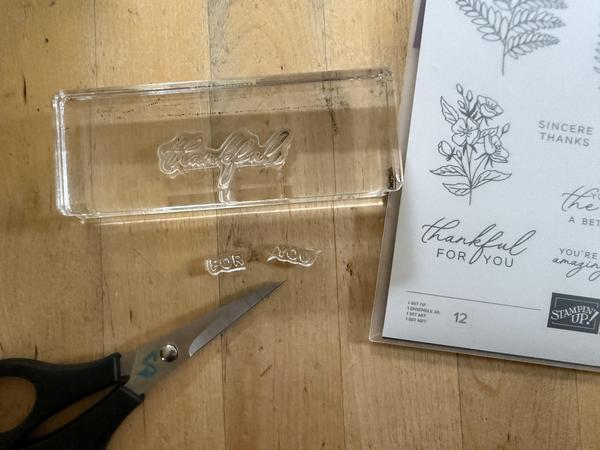
#3 - Sometimes you have a stamp that has more words than you want it to have. In this example, the stamp said "thankful for you" and I know I'll use "thankful" on it's own much more. I cut the "for you" off! I give you permission, it's ok to cut your stamps!!!!!
If I want to use the full saying, I can just stamp
individually. Now I also have the words "for" and "you" that can be use elswhere without the "thankful".
If you are curious about which stamp set this came from, it's from Fern & Flora (167739).
#4 - You may not know this about me, but I like to practice the 3 R's whenever I can (reduce, reuse and recycle). I get teased by my kids, but I was brought up this way (and I find them doing it too).
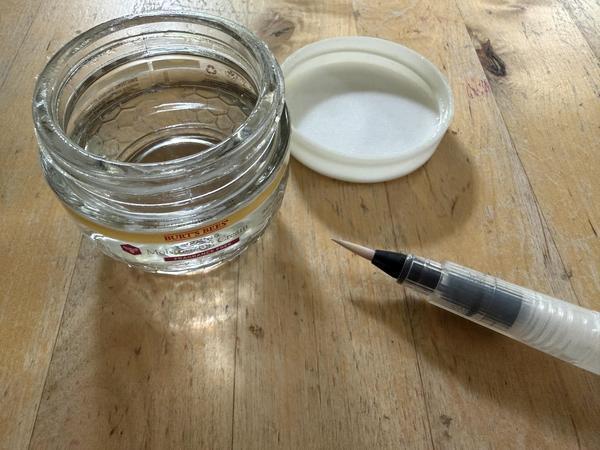
My night creme jar is a great jar to reuse. It seals completely, so it makes a great water jar for when I use my water
painters. Mine happens to be glass, so it's easy to clean too.
These jars are also good for storing ear rings when traveling!
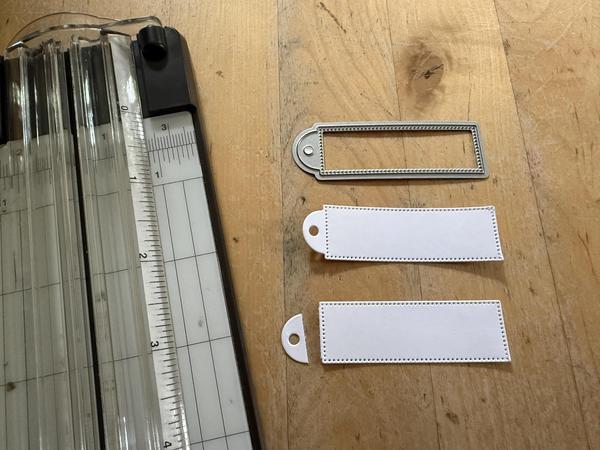
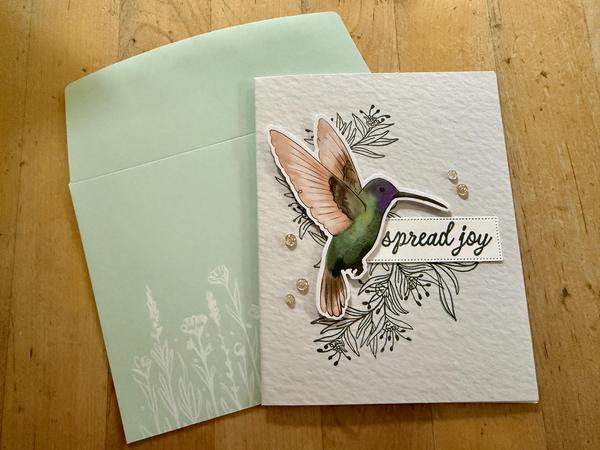
#5 - I was finishing up a card from my March Paper Pumpkin kit* and I didn't want to use the "mother's day" label it came with. Instead, I wanted a small rectangle to stamp a different sentiment. I didn't have exact the size die I wanted, but realized this tag die (shown above) was the right size. I didn't want the tag portion showing, so, I cut off the end of it! Look
at your dies differently and see if you can cut portions away to make them into a brand new piece.
If you are curious about which set this die came from, it's from Filled with Sweetness (167474). Not only do I love this
bundle, but there are 4 great label dies included that you can use on so many things.
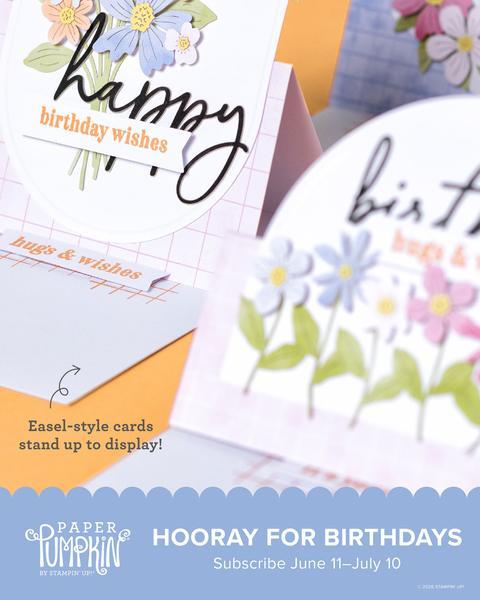
The cards for July's Paper Pumpkin, a monthly crafting kit, make awesome easel cards. You can make the cards as designed in the kit and also take measurements of them to replicate on
your own for future easel cards.
If you are interested in July's kit, you must sign up by July 10.